How to Configure Linksys Velop as a WiFi Repeater?
Linksys Velop system has three network nodes, which connects with the home modem and each other. It provides fastest network speed and reliable because of its ability to extend the network and clear the WiFi dead zones in your home.
You can easily configure it as a WiFi repeater with the help of the phone or computer. There are three nodes in the box of the Linksys, in which one will connects with the modem (works as router), and other two nodes will link with the router node (works as WiFi repeater).
By accessing the Linksys Smart WiFi login interface, you have to follow some more instructions to set it up as WiFi repeater.
So, let’s see how to configure Linksys velop as a WiFi repeaterwith the help of some simple steps written down here.
Turn On Linksys Velop
Linksys Velop must be turned on first and receiving internet signals from the modem. To connect the Linksys velop router and other nodes to modem, you just have to follow some of the easy steps.
- Just place the router node close to the modem and connect them with the help of Ethernet cable.
- The pattern to connect the router and modem via Ethernet cable is WAN port of the router node and LAN port of the modem.
- Then, you canadd other nodes to the Linksys router by usingEthernet cable or WPS button that works as WiFi repeater.
- Now, turn on the Linksys network system by plugging in the power cord to the wall socket and pressing On/Off button.
At first, you have to check the all the system is working properly by apply some troubleshooting tips written below.
Check All Velop System
- Make sure the Ethernet cable or power cord are not damaged and working fine.
- Don’t use a damaged electric wall socket to supply power to the Linksys router or other node.
- To configure the Linksys Velopas a WiFi repeater you must use the updated web browser(If you are using computer).
Now, let’s manage the Linksys Velop settings and networks via computer using the login URL or IP address.
Configuration via Computer
To adjust the Velop settings and networks using the computer, just connect the desktop to the Linksys network with the help of LAN cable.
- At first open the updated web browser and search the Velop login URL Linksyssmartwifi.com or you can use IP 192.168.1.1.
- Then, enter the login credentials like username and password, which are given in the user manual of Velop.
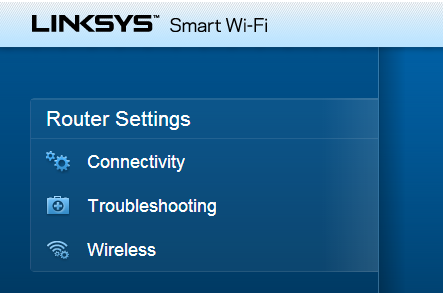
- Access the interface dashboard, now follow the instruction given on the computer screen and then find Connectivity option in the Settings.
- Then, select the Internet Settings and edit it, select the Wireless repeater.
But after setting up the Linksys device as wireless repeater, you have to enter the Network SSID, Network Band, and Security Mode. Then, just save the settings by click on the APPLY button given on the computer screen bottom.

So, these steps will help you to complete the Linksys smart WiFi setup as a wireless repeater. Now have a look how you can update the firmware and how to change admin credentials.
How to Update Firmware of Linksys Device?
- Log in to the interface dashboard by using the IP address 192.168.1.1 in your computer.
- Go to the Settings and select Firmware option given at the end of the list.
- Here, you will get the information of current running firmware version in the Linksys Velop.
- To update it, just click on the Search and Update button.
How to Change or Add Admin Credentials?
- Access the interface dashboard in to your desktop and select Settings.
- Click on the Admin tab, in which you will see username and password fields.
- Just edit the password to change, add your new password and save it by clicking APPLY button.
Now, whenever you log in to interface, you should use these changed credentials.
In Conclusion
Here in this blog post, you have learned how to configure Linksys Velop as a WiFi repeater. You have also learned how to upgrade firmware of your Linksys Velop system and how to change the Linksys admin credentials by logging in to the interface.

