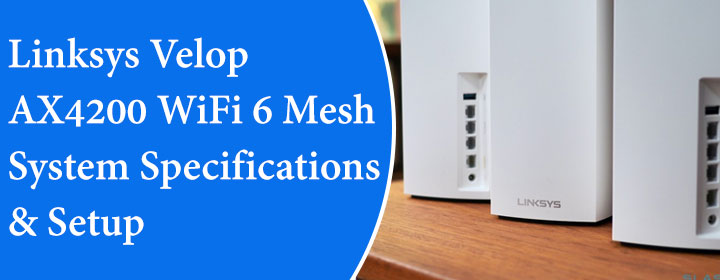
Linksys Velop AX4200 WiFi 6 Mesh System Specifications & Setup
The Linksys Velop AX4200 WiFi 6 Mesh System is a powerful tri-band router using WiFi 6 technology. It is made to provide smooth, fast internet access across your house. It makes it perfect for streaming, gaming and managing a large number of connected devices. We should proceed further and discuss the specifications of Linksys Velop mesh system.
Key Specification of Linksys Velop AX4200

Coverage and Devices
Each node supports a large number of connected devices and offers coverage up to 2,700 square feet.
Speed
It offers high-speed up to 4.2 Gbps with tri-band bandwidth.
Ports
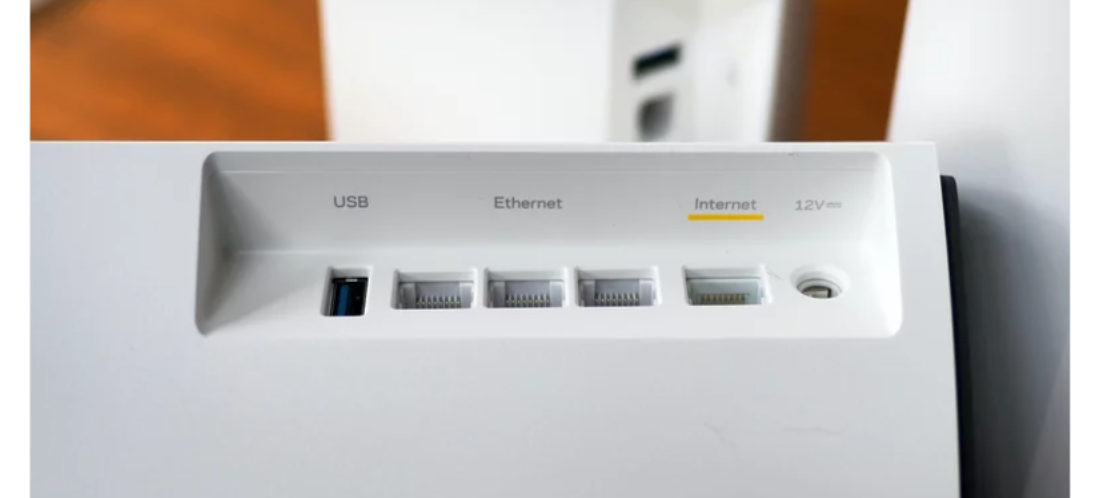
There are four Gigabit Ethernet ports; each node has port for wired communications.
Setup
You can manage various functions and setup easily with the help of Linksys app.
Backhaul Op
It enhances performance across nodes by supporting both wired and wireless backhaul.
For large homes or anyone needing great network coverage, the Linksys Velop AX4200 is a good choice. Using the Linksys app, you may connect extra nodes and configure the main node of the Linksys Velop AX4200 WiFi 6 Mesh System. Here is a detailed guide:
Steps to Setup Linksys Velop AX4200
Follow these step to setup the Mesh system at home by your own
Unbox and Prepare Your Device
- Put the secondary nodes in places where you require good WiFi coverage and place the primary node close to your modem.
- Wait for the indicator light to turn purple after connecting the primary node to a power supply. This indicates that it is prepared for setup.
Connect to Primary Node
Check for the default password and SSID, which are often displayed on the box or on the bottom of the primary node. Join this network with your smartphone.
Access and Login to Setup Page
- You need to open a browser and enter the URL; myrouter.local and hit enter. If prompted, select your language preference.
- You need to now login to Linksys router. The setup page will guide you through creating an admin password. Ensure this password is secure and easy to remember.
- Follow the on-screen instructions to complete this step.
Create Your WiFi Network
Enter a custom name for your network. Create a strong password to protect your WiFi. The router will apply the changes and restart.
Add Secondary Nodes
- Position them where the signal needs to be extended which is generally halfway between the primary node and dead zones. Plug them in and wait for the purple light.
- Return to myrouter.local and follow the instructions to add more nodes. The system will detect the new nodes and add them to the mesh network.
- Guest Network: Enable a separate Wi-Fi network for guests via the setup page.
- Parental Controls: Manage and restrict internet access for specific devices.
- Firmware Updates: Ensure your Velop system is up to date for the best performance and security.
Finalize and Test Network
Once all nodes are connected, the indicator lights should turn solid blue, indicating a strong connection. Test the internet speed and coverage in different areas of your home. If necessary, reposition the nodes for optimal coverage.
Advanced Configuration
There are many advanced features to customize, for that you need to create a Linksys smart WiFi account. For that Enter the URL to reach the linksyssmartwifi interface, which is linksyssmartwifi.com. Here you can customize various features, as per your needs:
Your Linksys Velop mesh system is now configured and ready to deliver high-performance WiFi across your home.
In The End
In summary we can say that, Linksys Velop AX4200 WiFi 6 mesh system comes with primary node and secondary node. You can setup the whole mesh WiFi system, easily and quick in few steps.

