Linksys Velop WHW0303 Setup & Login | Proper Guide
Linksys Velop WiFi mesh systems like WHW0303 model are really easy to install in home. You just need to learn how to connect its router node with the modem, log into the interface or app to manage the settings.This page is all about how to complete the New Linksys Velop WHW0303 Setup in home. This setup guide includes the physical link of the router, how to login, & how to deal with various technical issues.
Linksys Velop WHW0303 Setup
Physical Connection with Home Modem
Unplug your modem. Plug an Ethernet cable from your modem’s LAN port into the Internet port on the Velop main node. Power up the modem. Wait. Power up the Velop node. Wait for blinking purple.
Linksys Velop WHW0303 Configuration
Via Linksyssmartwifi.com
On your computer or laptop, open onto the default Wi-Fi network it broadcasts. It’ll be something like LinksysXXXXX. No password yet. Now open a browser and punch in: linksyssmartwifi.com. This is the local setup portal — not the cloud dashboard (we’re not there yet). If it doesn’t load? Try the IP: 192.168.1.1.
- Once you’re in, it launches the Linksys Velop setup wizard. You’ll hit continue, agree to some TOS that no one reads, and it’ll start detecting your internet.
- If your modem’s being weird, you might need to reboot it with the Velop already plugged in.
- Eventually, it asks you to name your Wi-Fi and set a password. Do that.
- Use a totally new SSID. Don’t reuse your old one.
- Adding the other two nodes should be easy. Just plug them in one at a time, near the main node, wait for the light to blink purple, then follow the prompts in the setup. Sometimes they fail to detect. When that happens, reset the node (hold reset for like 10-15 seconds with a paperclip) and try again.
- It’ll say “node added successfully.” When it does? Move it to where you want it just make sure there’s still some signal from the main one.
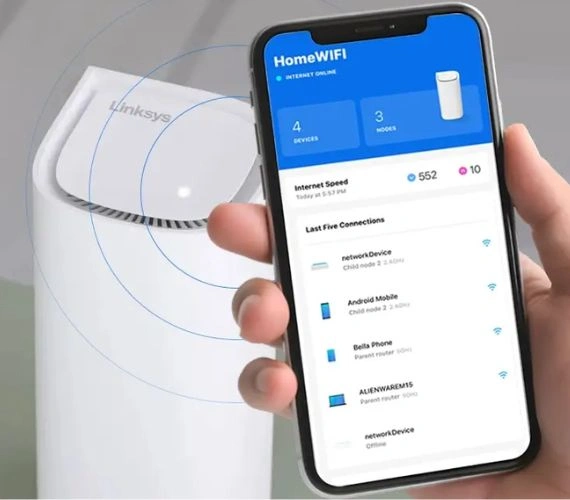
Via Linksys App
- Just search “Linksys” in the App Store or Google Play. Download it. Open it. Sign up or log in.
- Pick one node to be your main one. This is going to be your router.
- Plug in the power. Use the Ethernet cable to connect it from your modem to the yellow port.
- Wait. Takes like 1-2 mins for the light to go from blinking purple to solid purple. That means it’s ready to be set up. If it’s red, something’s up with the internet.
- Open the app. It’ll detect that you’re near a Velop. If it doesn’t, force close and reopen.
- Tap “Set up a New WiFi Network.”
- Choose “Velop Whole Home Mesh.”
- Follow the steps. It’ll scan for the node, grab your connection info, and let you name your Wi-Fi and set a password
- After the main node’s done, the app will ask if you want to add more. Say yes.
- Plug in the second node somewhere halfway between the first node and wherever you want coverage. Power it up. Wait for the light.
- The app should auto-detect and link it up. If not, you can do it manually — just follow the prompts. Do the same with the third node. You can always move them later.
Troubleshooting Tips
1. App Won’t Detect Node?
Been there. You’re staring at the app like an idiot, waiting for it to “find” the node. Nothing happens.
- Close the Linksys app. Force close it.
- Turn off your phone’s Wi-Fi for 10 seconds, then turn it back on.
- Reboot the node — unplug it, count to 10, plug it back in.
- Wait until the light on the node is solid purple before trying again.
- Still nothing? Switch to 2.4GHz on your phone temporarily. Some phones are finicky with 5GHz during setup.
Also, make sure Bluetooth is on.
2. Can’t Add the Second or Third Node?
First node is good. But the other two are being stubborn.
- Make sure you’re adding them from the app, not just plugging them in and hoping magic happens.
- Place them really close to the main node during setup. Like, same room close.
- If they refuse to pair, do a manual reset. Hold the reset button until the light flashes red. Then start over.
- You can move them after setup. Just don’t move them mid-process.
3. Red or Yellow Light Forever?
Yeah, that’s your node telling you it hates its life.
- Solid red = no internet.
- Blinking red = no connection to the main node.
- Yellow/orange = weak signal. Too far or too many walls in the way.
Quick fix? Move it closer. If it’s already close, try a different outlet. And yeah, interference from microwaves or weird smart home gear is a thing.
4. App Stuck on “Preparing Node” or “Configuring”
Waited five minutes. Still spinning.
- Again: close the app, reboot the node.
- Reconnect your phone to the Velop’s temporary Wi-Fi — should look like LinksysXXXXX.
- Sometimes, setting up over LTE with Wi-Fi off helps get past a glitch.
- Don’t skip firmware updates — they happen during setup. If it hangs there, it might be bricked mid-update. Reset and retry.
A Few Important Settings After Setup
Change Velop WiFi Password
Open the Linksys app. Tap the menu icon (top-left corner). It’s the three little lines. Hit “Wi-Fi Settings.” You’ll see your current WiFi name (SSID) and password. Tap Edit or just tap the name/password directly. Change the password to whatever you want. Hit Save. Your whole network will restart. Reconnect your devices.
Change Linksys Cloud Admin Password
Access the Linksys app. Tap on the menu icon (usually upper left). Tap your account name/email at the top. Now you’re in your account profile. This is where the magic happens. Scroll down and hit “Change Password.” Enter your current password. Enter the new one. Confirm it and Hit Save or Done.
Guest WiFi Network Activation
Open the Linksys App. Login to your Linksys account. Tap the Menu ☰ in the top-left. Tap Guest Network. Turn it ON. Set your guest WiFi name and password.
Enable Parental Control
Open the Linksys app. Tap the little menu icon (three lines). Go to “Parental Controls.” Tap “Add a device.” You’ll get a list of everything connected. Set the restrictions. After adding the device, you can:
- Pause internet manually
- Set a schedule (like bedtime blocks)
- Block specific websites
Once the device is added, just tap “Pause internet.” Done. Takes like 2–5 seconds to kick in.